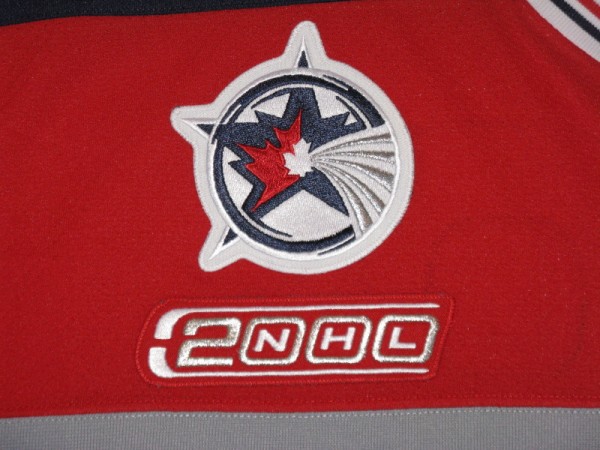
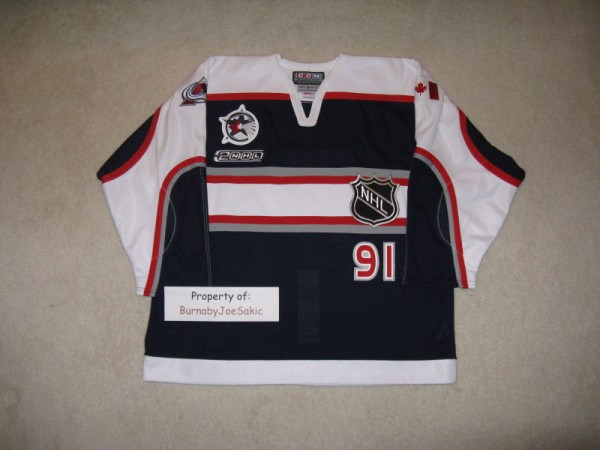
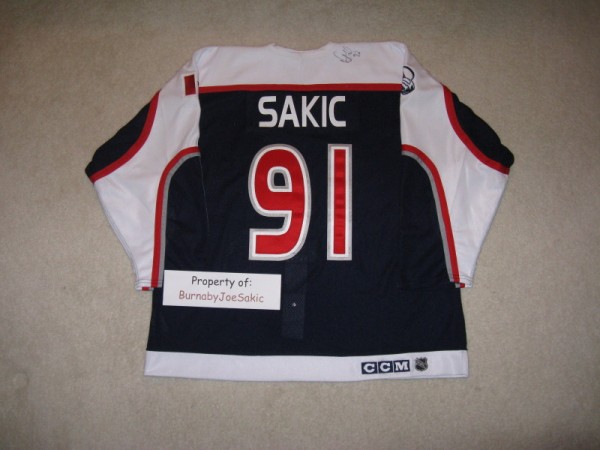
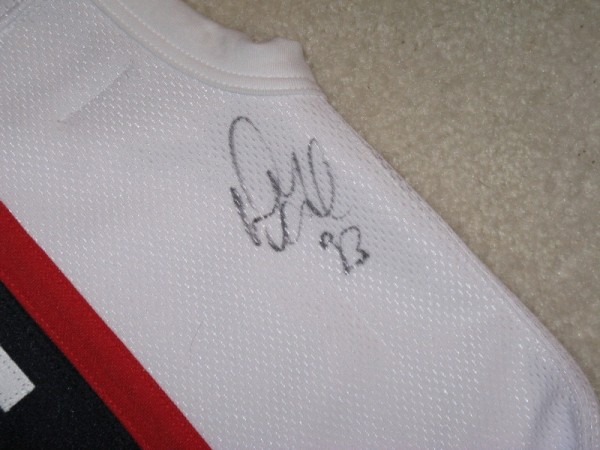
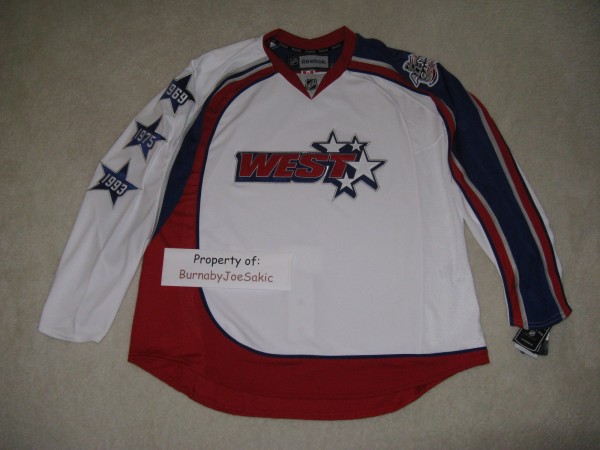
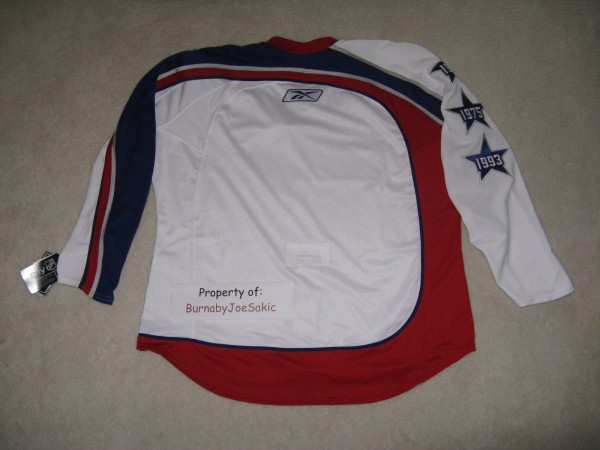
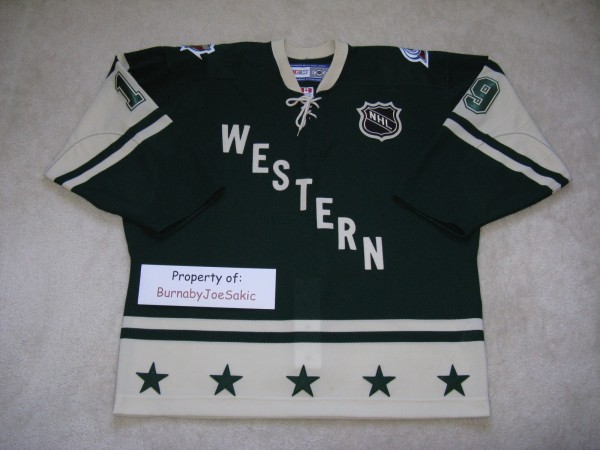
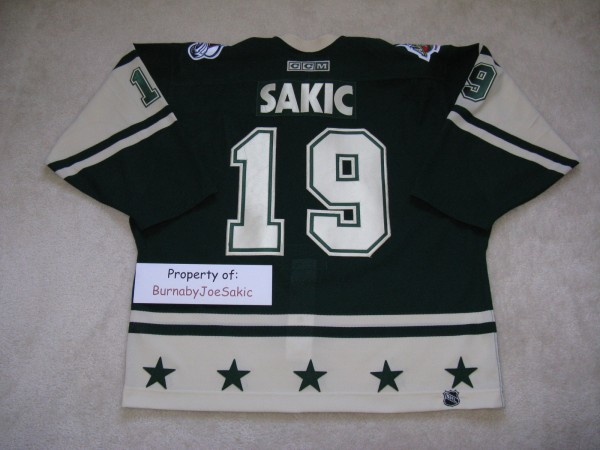
The little details. That’s what jerseys are all about. Having an eye for and caring about the little details separates the strong from the weak in the jersey collecting game. This applies in life as well, but that’s for another post on another blog for a different time. I appreciate small jersey details and those of you that know me know that I love my jerseys. My collection somewhat speaks for itself, but I also thought I would share a little bit about the process that I go through to get my jerseys looking the way they do. Sure, someone can always go to my friends at Meigray and buy game worn jersey after game worn jersey, but buying Joe Sakic, Peter Forsberg, and Patrick Roy game worn jerseys can cost something well beyond a pretty penny. Why not find blank jerseys and get them lettered? They cost a fraction of the price and you can still, at least most of the time, get the quality of jersey the players wear/wore on the ice. Do I have your attention? Want to know more? We’re going to get along just fine. Thanks for being here.
Step one, find legitimate jerseys from legitimate sellers. I hate to say what not to do so early in this post, but do NOT buy fake jerseys. No one likes fake jerseys except your bank account. In general, you will get what you pay for. If a deal seems too good to be true, it is. Do your homework and deal with sellers that have a good reputation. eBay is my main source. This is the toughest part of the process, especially with older styles or the style that’s worn on the ice right now. They are pretty rare. You will have to wade through a lot of fake jerseys. Patience is definitely a key. Good jerseys will show up eventually though.
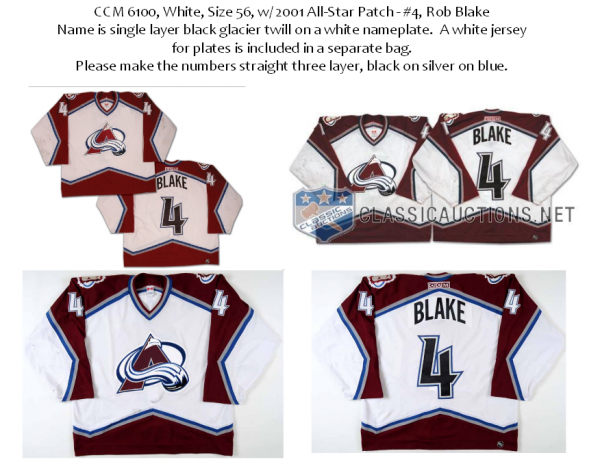
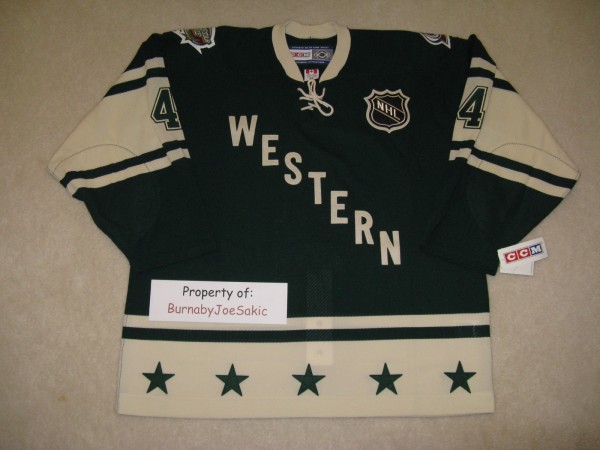
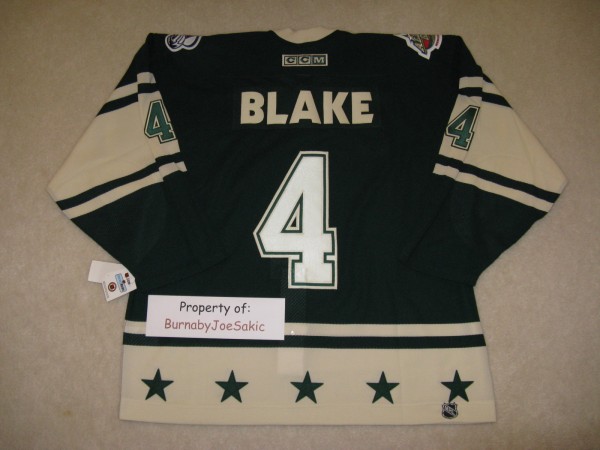
Step two, do some serious research about your blank jersey. Know of some reputable places where you can go to find pictures of players in the jersey you have. Even better, find images of a game worn jersey that has been up for auction at one point in time. Getty Images (searching by a particular year and/or particular player helps narrow the field quickly), gamewornauctions.net, and Classic Auctions are the big three that I use, but there are many smaller other options out there. Google images helps as well. Make something like this to send along with your jersey to the place that customizes your jerseys.
Again, the details. Nameplate or not? What material is the nameplate? Does your customizer carry the material needed for the nameplate? Buy a blank replica or a hopeless old authentic made with the same material if needed. Sometimes something like this has to happen to make a new jersey look the way it should and that’s okay. How are the numbers cut? Did the player wear an alternate captain’s “A” or a captain’s “C” in this style jersey? Adding a patch or two? Do the research and find legitimate patches from legitimate sellers as well. This is the same challenge as the jersey situation above.
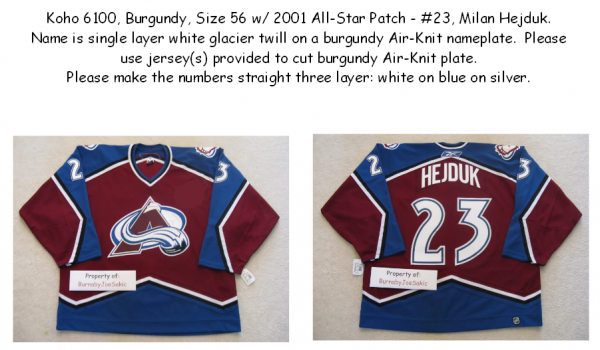
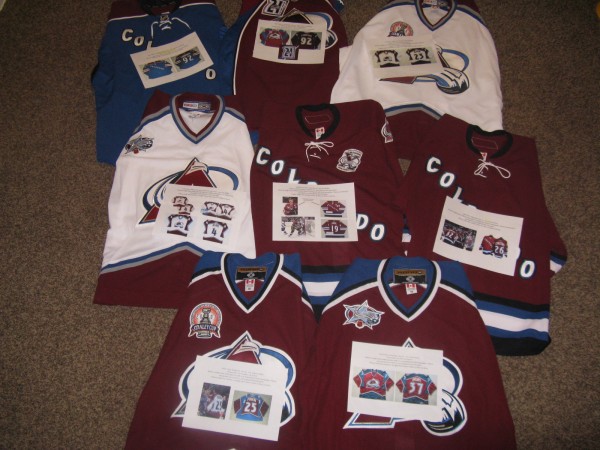
The images in the example above are pictures of game worn Rob Blake jerseys that were auctioned off at one time or another. Sometimes I simply include images of jerseys already in my collection like here:
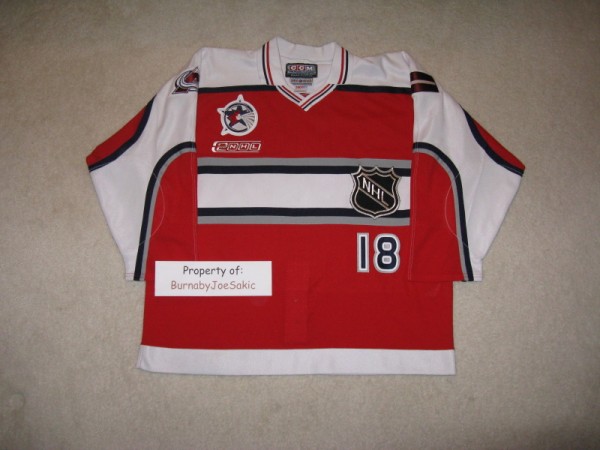
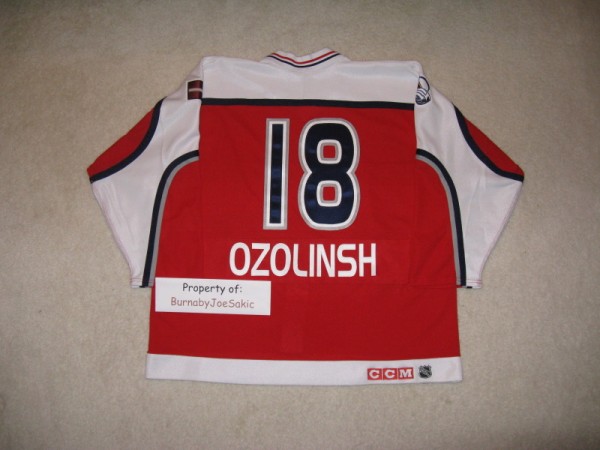
With a sickness passion like mine having different versions of the same jersey in the collection with only the patch being different on each jersey is a fairly common thing. The 2000-2001 Colorado Avalanche season was fun in the fact there were two versions of every jersey worn. That’s jersey heaven right there.
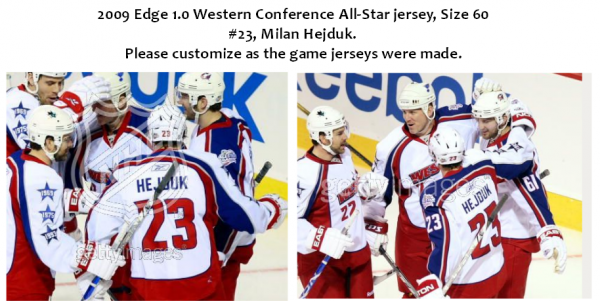
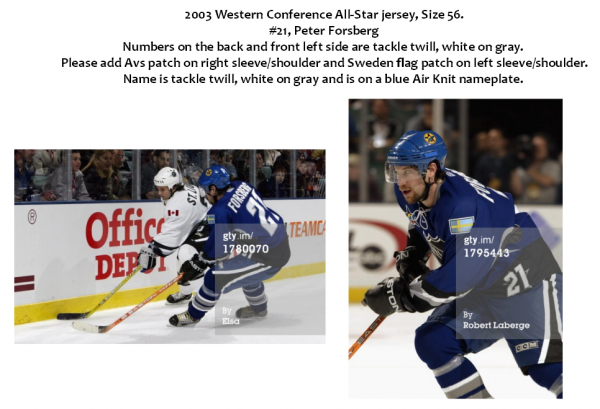
And for one more example, the best that can be done at times is finding images of the style jersey in game action.
And:
Basically, anything that you can do detail-wise to help the customizer isn’t going to hurt and a little more detail rather than less is always the side to miss on.
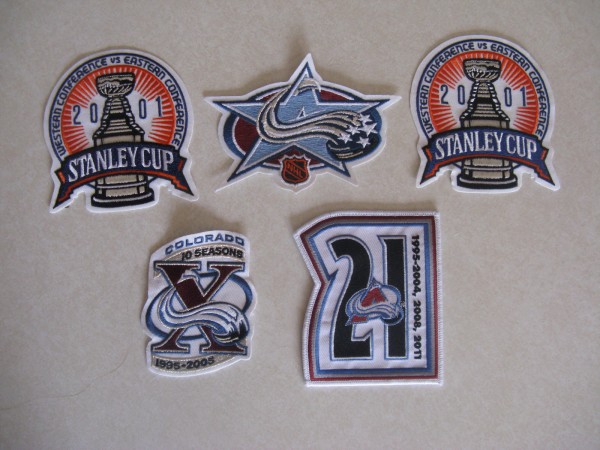
Next, find some patches (if needed.) And no, it’s not okay to put patches on jerseys that don’t need to be there. Be historically accurate and do things right.
Then, prepare the patches. Patches produced by National Emblem have a hard plastic backing on them to keep them from being placed on jerseys. National Emblem also makes the best patches around. So take the plastic backing off of the patches and get them ready to be placed where they were meant to be, on jerseys.
These are ready to go:
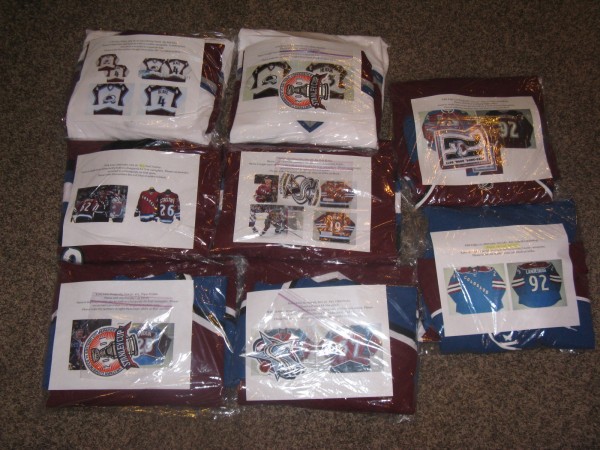
The next step in my process includes laying the jerseys and patches in the order out to double-check that all is accurate and I have absolutely everything I need.
Once everything looks good the patches are placed in baggies so they’re less likely to get lost, the jerseys are folded up carefully (make sure to not put a hard crease through the crest as they can be almost impossible to get out), and then each jersey (and baggie if needed) is put into its own larger bag.
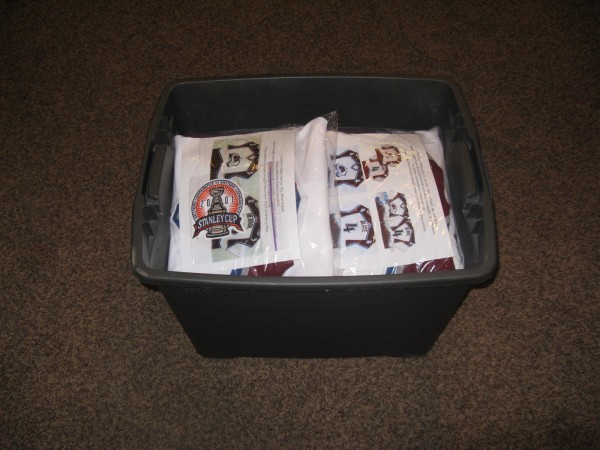
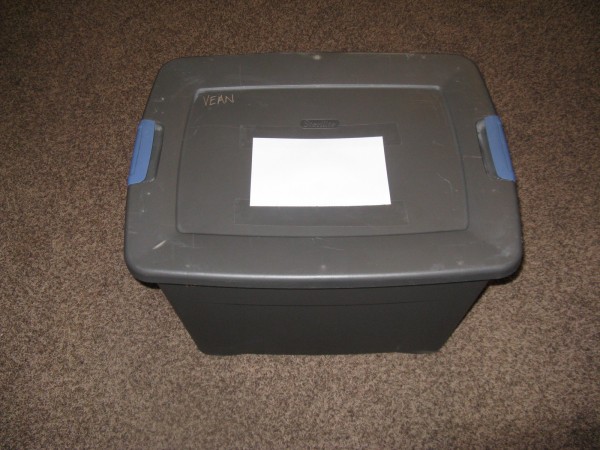
The jersey bags are stacked in a tote so I can carry them all easily.
The lid is perfect to keep the elements out and the jerseys clean and dry.
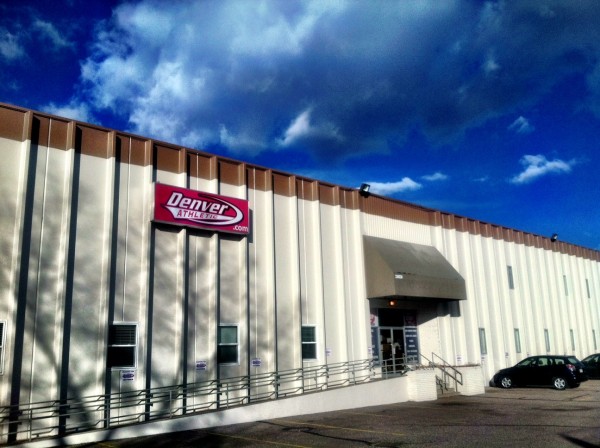
Then we’re ready to make the trip to one of my favorite places on earth, Denver Athletic. You probably don’t have the luxury of being able to drive to the place that letters your favorite NHL team’s jerseys, that’s just a special perk of living in Denver and loving Avalanche jerseys the way that I do. I definitely don’t ever take this opportunity for granted.
Besides finding the jerseys the waiting is now the hardest part. My friends at DA do phenomenal work, so the waiting is always well worth it.
Stay tuned for an update post coming at you in a few short weeks…hopefully.
Have questions? Need more details? Let me know. Comment here, “like” The AHP Facebook Page (if you haven’t already) and send me a message there or email me at avalanchepodcast at Comcast dot net. I’m always happy to help you in any way that I can because getting jerseys done right is obviously a huge passion of mine. Be in touch. I would love to hear from you.
